


Signs of Battery Failure in Wilderness: A Field Checklist
If your battery is sagging under load, running out of juice way faster than it used to, or hot to the touch, you’re looking at failure, not a fluke. Reduced runtime, voltage sag, and overheating or swelling are the three signs that mean stop and diagnose now, not tonight. If you see swelling, smell rotten eggs, or spot any leaking fluid, disconnect the battery immediately and back away before troubleshooting anything else.
Run these checks before you do anything else:
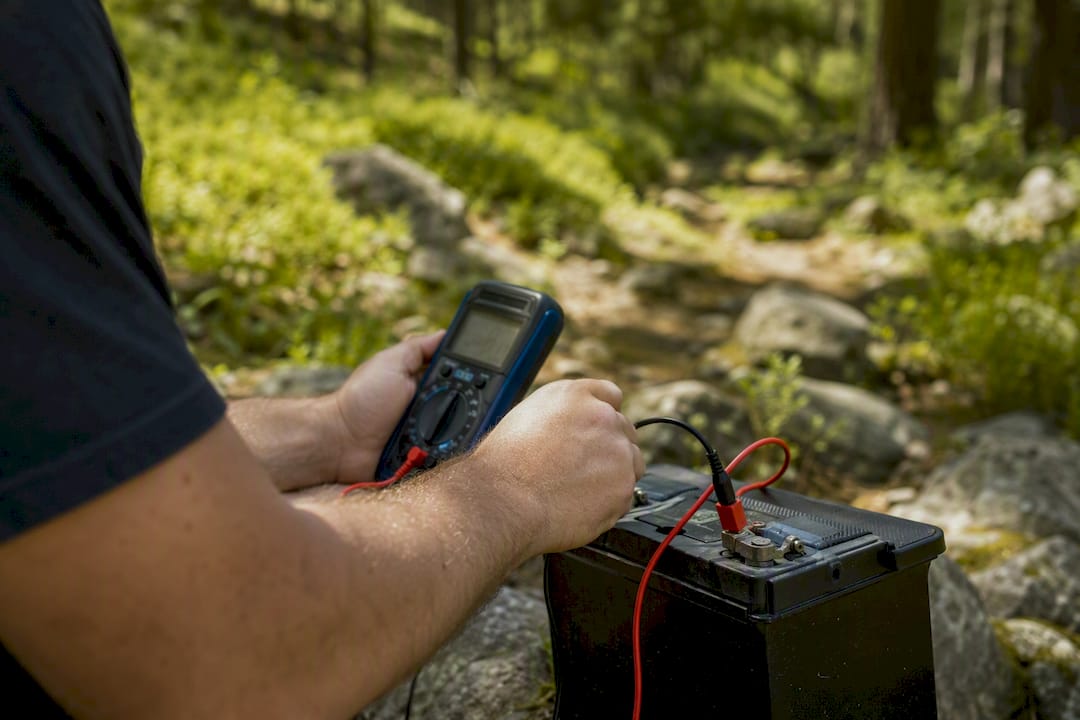
- Check resting voltage with a multimeter if you have one.
- Look at the case for bulging, cracks, or crusty leakage around the terminals.
- Touch the case (carefully) to feel for unusual heat.
- Note whether the problem showed up gradually or all at once.
Pro Tip: Keep a $15 multimeter in your kit. It’s the single cheapest insurance policy against getting stranded, and it turns a guessing game into a two-minute diagnosis.
AGM batteries run at roughly 80 to 85 percent round-trip efficiency even when healthy, so some voltage droop under load is normal. A steep, sudden drop is not. A battery management system, or BMS, on a lithium pack should catch dangerous conditions automatically. If it’s cutting power without warning, treat that as a real fault, not a nuisance.
Key Takeaways
Voltage sag under load, reduced runtime, and physical case damage are the three signs that mean stop using the battery and diagnose immediately.
| Point | Details |
|---|---|
| Watch for the big three | Voltage sag under load, reduced runtime, and overheating or swelling signal active failure. |
| Test before you replace | A multimeter resting-voltage check and simple load test rule out charging-path issues first. |
| Respect chemistry differences | Lithium fails abruptly via BMS lockout; lead-acid and AGM fade gradually through sulfation. |
| Storage habits cause most failures | Leaving batteries at partial charge during off-season is a leading cause of irreversible damage. |
| Match chemistry to trip profile | Bansheebatteries’ LiFePO4 marine batteries suit heavy off-grid cycling; AGM suits lighter, occasional use. |
Table of Contents
- Signs of Battery Failure in the Wilderness You Shouldn’t Ignore
- What to Do Right Now if You Suspect Battery Failure
- How to Run Basic Diagnostics With Field Tools
- Preventing Battery Failure Before Your Next Trip
- Repair, Recondition, or Replace: Making the Call
- Get a Battery Built for Where You’re Actually Going
- Sources
Signs of Battery Failure in the Wilderness You Shouldn’t Ignore
Battery trouble rarely announces itself with one dramatic symptom. It shows up as a pattern, and once you know what to look for, the pattern is easy to read.
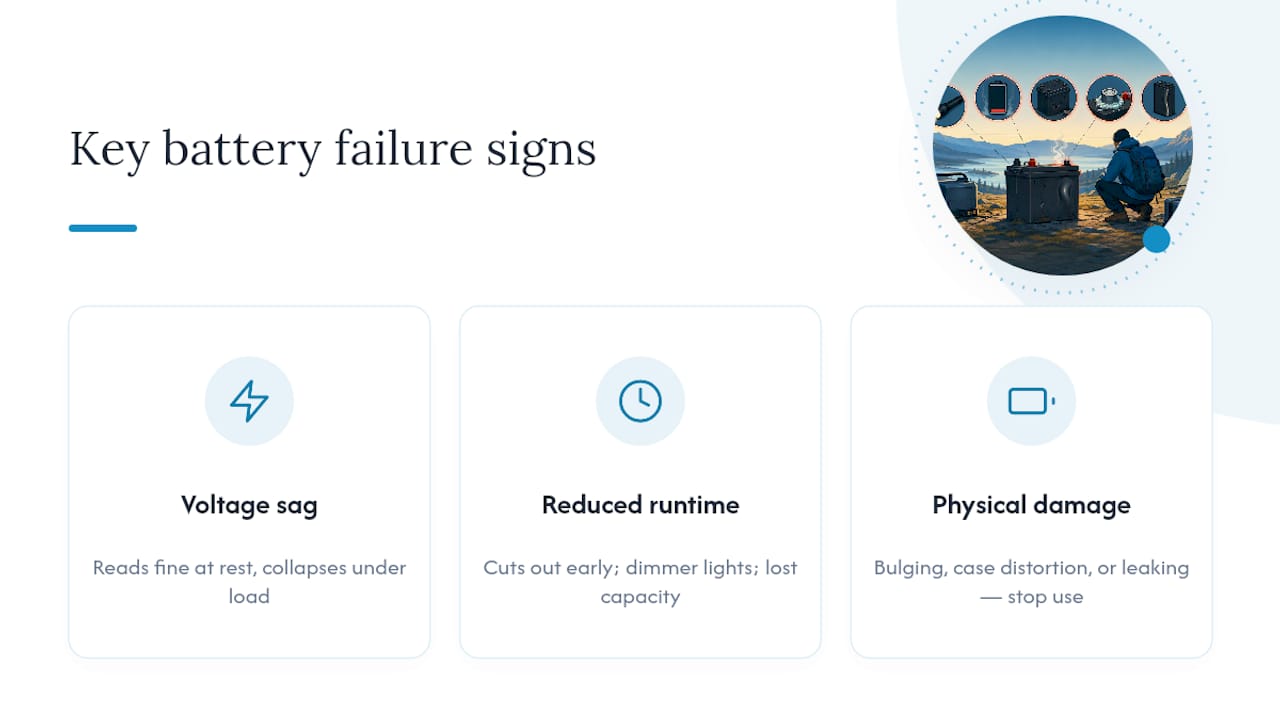
Reduced runtime or capacity drop. Your trolling motor cuts out early, your camp lights dim faster than last trip, or your ATV starter struggles after fewer cranks than usual. This almost always means the battery has lost usable capacity, whether from age, sulfation, or a cell going bad internally.
Difficulty charging to full. If your charger says “full” but the battery drains in half the usual time, something in the charge path is lying to you or the cells themselves can’t hold a charge. Before condemning the battery, verify the charging source itself is actually working. A tripped fuse, corroded connection, or a disconnect switch left in the wrong position can mimic a dead battery perfectly.
Low or inconsistent resting voltage, and voltage sag under load. A battery that reads fine sitting still but collapses the moment you apply a load has rising internal resistance, usually from sulfation, plate damage, or a failing cell. This is one of the most reliable early warnings you’ll get.
Visible physical damage. Bulging, case distortion, or any leaking fluid is not cosmetic. It signals internal gas buildup or a chemical breach, and it demands you stop using the battery immediately.
High self-discharge. If a fully charged battery loses a noticeable chunk of charge just sitting in storage for a few days, that’s a strong indicator of internal breakdown.
Overheating or venting. Heat during charging or use, especially combined with a hissing sound or odor, means stop everything and disconnect.
Frequent deep-discharge events. Running a battery down to empty repeatedly accelerates all of the above, particularly in lead-acid and AGM chemistries.
Pro Tip: Lead-acid and AGM batteries tend to fail with a slow fade, sulfation strikes gradually and shows up as weak cranking over several outings. Lithium packs often fail more abruptly because the BMS will lock out the pack entirely rather than let it discharge into damage. A sudden, total loss of output on a lithium system is more likely a BMS protection event than a dead cell.
Smoke, a strong sulfur smell, active acid leakage, or a case that’s visibly swollen are not “keep an eye on it” situations. Disconnect, evacuate the area, and don’t reconnect that battery again.
What to Do Right Now if You Suspect Battery Failure
Once you suspect a failing battery, the order of operations matters more than speed. Work through this sequence:
- Isolate the battery. Shut off the main switch or pull the negative terminal first if it’s safe to touch.
- Shed nonessential loads immediately. Kill interior lights, entertainment systems, and anything not required for safety or navigation.
- Shut down in a controlled manner. Don’t just yank connections under load; power down devices first, then disconnect.
- Move to shade or ventilation if heat is involved. Direct sun on an already-hot case makes things worse fast.
- Inspect for leaks or venting before touching anything metal near the terminals. Sparks near a vented battery are a real fire risk.
Wear gloves and eye protection if you’re handling a battery that shows any sign of leakage. Battery acid burns, and vented gas from a failing cell can be flammable.
Do not attempt to force-charge a swollen or visibly damaged battery under any circumstances. That’s the fastest way to turn a battery problem into a fire.
If you need to stretch remaining charge to reach a service point, cut every load you can live without, prioritize just navigation or communication devices, and if you have access to a second known-good battery or a small solar panel, a slow trickle top-up beats no charge at all.
Pro Tip: A cheap 12V test light in your glovebox can confirm you’ve fully isolated a circuit before you touch any terminal, especially useful in low light when you can’t see corrosion or a hairline crack clearly.
How to Run Basic Diagnostics With Field Tools
You don’t need a shop to figure out whether a battery is worth saving. A short kit gets you most of the way there: a multimeter, a basic load source like a headlight or a 100W bulb, a hydrometer if you’re running flooded lead-acid cells, an infrared thermometer, and a terminal brush.
Run these tests in order:
- Resting voltage check. Let the battery sit disconnected for two to four hours, then measure. A 12V battery reading well below nominal resting voltage typically indicates a dead cell, and one that reads noticeably below its nominal rating at rest is marginal at best.
- Simple load test. Apply a known load and watch how far voltage drops. A small, steady dip is normal; a sharp, fast collapse points to high internal resistance or a bad cell group.
- Self-discharge check. Charge fully, disconnect, and remeasure after 24 to 48 hours. A big unexpected drop signals internal leakage.
- Terminal and connection inspection. Corrosion or looseness can fake half these symptoms, always rule this out before blaming the battery itself.
- Cell temperature check. Use the infrared thermometer, or the back of your hand held near (not on) the case, to spot one hot cell among cool ones, a classic sign of an internal short.
Manufacturer specs vary by chemistry and capacity, so treat any voltage number here as a general guide, not gospel; always defer to the maker’s published thresholds when they’re available. Never load-test a battery that’s leaking, bulging, or hot. That’s not a test, that’s a hazard.
Preventing Battery Failure Before Your Next Trip
Most premature failures trace back to storage habits, not bad luck. Leaving a lead-acid or AGM battery sitting at partial charge is one of the most common causes of irreversible sulfation, and it’s entirely avoidable.
- Charge to full whenever you can, and avoid parking a battery at partial charge for extended periods.
- Clean and tighten terminals before every trip; corrosion mimics battery failure more often than people expect.
- Match the charger profile to the chemistry. A lithium pack and an AGM battery want different charge curves entirely.
- Mount batteries securely with adequate ventilation, vibration and heat buildup both shorten lifespan.
- Use a shunt-based battery monitor if you can. It gives you real state-of-charge data instead of a voltage guess.
Pro Tip: If you’re upgrading to lithium, check your alternator, converter, and solar controller profiles first. A pack swapped in without adjusting the charge source can end up chronically undercharged, which defeats the whole point of upgrading. For deeper storage guidance, Bansheebatteries’ AGM maintenance guide and off-season drain prevention checklist both walk through the specifics.
If you’re storing a rig through the off-season, a secure mounting solution matters as much as the charge routine. Marine setups in particular benefit from a dedicated battery pack enclosure that keeps terminals protected from spray and vibration.
Repair, Recondition, or Replace: Making the Call
Age and cycle count matter more than most people think. A battery pushing three to five seasons of deep-cycle use, showing capacity loss under load, or throwing repeated BMS faults on lithium is not worth reconditioning. Visible bulging or leakage ends the conversation immediately, replace it.
For wilderness use specifically, LiFePO4 offers deeper usable capacity and a far longer cycle life than AGM, which matters if you’re cycling a battery hard on every trip. AGM still holds up well for occasional, lighter use where cold-weather charging flexibility matters more than cycle count. Either way, prioritize a robust BMS, a solid vibration rating, and a charging voltage profile that matches your system. A 4-year AGM or 5-year lithium warranty backing your replacement is worth factoring into the decision, since it reflects how confident the manufacturer is in the build.
A field-earned perspective on battery failure
Most “dead battery” panics I’ve seen turn out to be a $3 corroded terminal, not a $200 battery. Test before you replace.
Get a Battery Built for Where You’re Actually Going
A weekend camper and someone running a trolling motor six hours a day need very different batteries, and that’s the gap Bansheebatteries built its lineup around. If you’re cycling deep and often, off-grid, on the water, or dry camping for days, LiFePO4 marine batteries hold more usable capacity and shrug off repeated deep discharges that would sulfate an AGM cell over a season. For lighter, occasional use where upfront cost matters more than cycle count, Bansheebatteries’ AGM lineup still earns its keep, backed by a 4-year warranty, while lithium marine packs carry a 5-year warranty for the added peace of mind on longer trips.
Not sure which chemistry fits your setup? Bansheebatteries’ support team can walk through fitment for your specific motorcycle, boat, or RV before you buy. Browse the 12V 100Ah LiFePO4 deep cycle battery built for exactly this use case, or start at the full battery lineup to find the right fit for your next trip.
Sources
- RV Battery Not Charging? Troubleshooting Guide | OffGridRVHub
- Lithium vs AGM Batteries 2026: Which Wins? – OffGridFoundry
- How Do You Troubleshoot Common Deep Cycle Battery Problems? - VoltageBasics
Always follow your manufacturer’s specific voltage thresholds, and consult a professional for any hazardous or uncertain field condition.